Before you begin reading this guide, we recommend you run Elasticsearch Error Check-Up which analyzes 2 JSON files to detect many errors.
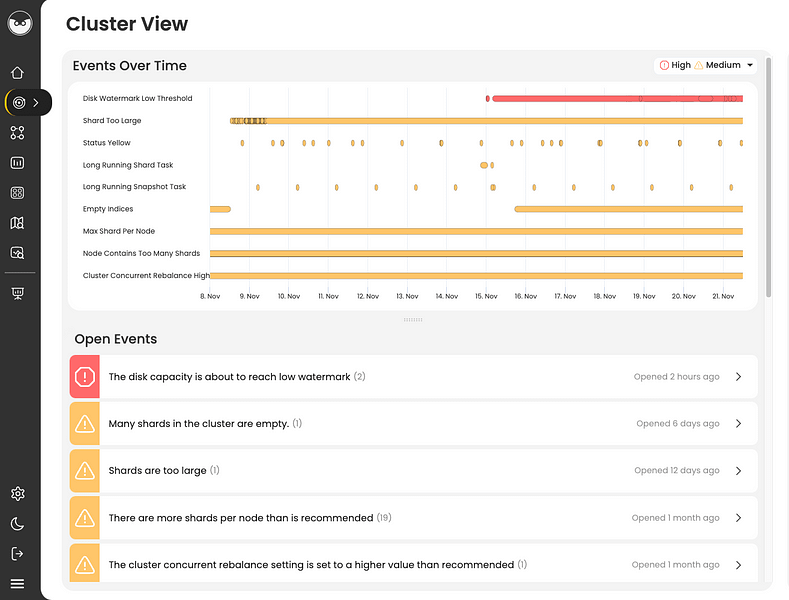
To easily locate the root cause and resolve this issue try AutoOps for Elasticsearch & OpenSearch. It diagnoses problems by analyzing hundreds of metrics collected by a lightweight agent and offers guidance for resolving them. Take a self-guided product tour to see for yourself (no registration required).
This guide will help you check for common problems that cause the log ” Failed to ensure SLM history index exists. not indexing history item ” to appear. To understand the issues related to this log, read the explanation below about the following Elasticsearch concepts: index, indexing, plugin and snapshot.

Overview
In Elasticsearch, an index (plural: indices) contains a schema and can have one or more shards and replicas. An Elasticsearch index is divided into shards and each shard is an instance of a Lucene index.
Indices are used to store the documents in dedicated data structures corresponding to the data type of fields. For example, text fields are stored inside an inverted index whereas numeric and geo fields are stored inside BKD trees.
Examples
Create index
The following example is based on Elasticsearch version 5.x onwards. An index with two shards, each having one replica will be created with the name test_index1
PUT /test_index1?pretty
{
    "settings" : {
        "number_of_shards" : 2,
        "number_of_replicas" : 1
    },
    "mappings" : {
        "properties" : {
            "tags" : { "type" : "keyword" },
            "updated_at" : { "type" : "date" }
        }
    }
}
List indices
All the index names and their basic information can be retrieved using the following command:
GET _cat/indices?v
Index a document
Let’s add a document in the index with the command below:
PUT test_index1/_doc/1
{
  "tags": [
    "opster",
    "elasticsearch"
  ],
  "date": "01-01-2020"
}
Query an index
GET test_index1/_search
{
  "query": {
    "match_all": {}
  }
}
Query multiple indices
It is possible to search multiple indices with a single request. If it is a raw HTTP request, index names should be sent in comma-separated format, as shown in the example below, and in the case of a query via a programming language client such as python or Java, index names are to be sent in a list format.
GET test_index1,test_index2/_search
Delete indices
DELETE test_index1
Common problems
- It is good practice to define the settings and mapping of an Index wherever possible because if this is not done, Elasticsearch tries to automatically guess the data type of fields at the time of indexing. This automatic process may have disadvantages, such as mapping conflicts, duplicate data and incorrect data types being set in the index. If the fields are not known in advance, it’s better to use dynamic index templates.
- Elasticsearch supports wildcard patterns in Index names, which sometimes aids with querying multiple indices, but can also be very destructive too. For example, It is possible to delete all the indices in a single command using the following commands:
DELETE /*
To disable this, you can add the following lines in the elasticsearch.yml:
action.destructive_requires_name: true
Overview
Indexing is the process of adding documents to and updating documents on an Elasticsearch index.
Examples
In its simplest form, you can index a document like this:
POST /test/_doc
{
  "message": "Opster Rocks Elasticsearch Management"
}
This will create the index “test” (if it doesn’t already exist) and add a document with the source equal to the body of the POST call. In this case, the ID will be created automatically. If you repeat this command, a second document will be created with an identical source but a different ID.
Alternatively, you can do this:
PUT /test/_doc/1
{
  "message": "Opster Elasticsearch Management and Troubleshooting"
}
This is almost the same, but in this case, the call sets the ID of the document to 1. If you repeat the command modifying the message, you will modify the original document, replacing the previous source with the latest source.
However note that this is NOT the same as an UPDATE operation, which is a different API and allows us to modify certain fields of the document while leaving others unchanged.
Notes and good things to know
You can set your own ID if necessary (especially if you later need to update the same ID) but this comes at a performance penalty. If you don’t need to update documents, then let Elasticsearch set its own ID automatically.
If you need to index many documents at once, it is much more efficient to use the BULK API to carry out these operations with a single call.
Indexing is not an immediate automatic process. Documents will not be available for search until the index has refreshed. Refresh time by default is 1 second. Increasing this time reduces the burden on the cluster of indexing, increasing indexing speed. It is possible to modify the refresh time in the index settings.
You can apply version control by setting the version parameter (?version=3) and indicating version_type=external. By doing this Elasticsearch will reject any index requests where the version specified is less than the current version. This can be useful when running distributed processes and you cannot guarantee that updated documents arrive in the correct order.
PUT test/_doc/1?version=20&version_type=external
{
	"message" : "using external version the document will be modified only  if version is greater than previous!"
}
The process of indexing is as follows
The index request is sent to the primary shard. Once the primary shard is updated, then the replication process request will be relayed to the replica shards. The command will not return until the primary shard (at least) has been updated. For greater resilience, you can specify a minimum number of shard replicas to be available before proceeding with the operation by using the parameter ?wait_for_active_shards=2
You can also specify which specific shard the index operation is sent to by using the “routing” command. There are 2 reasons that this might be done:
- Certain Elasticsearch functions (parent-child documents) that require that the parent and child documents be held on the same shard.
- Secondly, it may be possible to increase search speeds and reduce load on Elasticsearch by storing similar documents together on the same shard and then specifying the routing for both indexing and searching. Although this can be done explicitly during indexing, it is not recommended. It would be preferable to set this up using the index mapping, so that the routing is determined by an ID value on the source document.
Overview
A plugin is used to enhance the core functionalities of Elasticsearch. Elasticsearch provides some core plugins as a part of their release installation. In addition to those core plugins, it is possible to write your own custom plugins as well. There are several community plugins available on GitHub for various use cases.
Examples
Get all of the instructions for the plugin:
sudo bin/elasticsearch-plugin -h
Installing the S3 plugin for storing Elasticsearch snapshots on S3:
sudo bin/elasticsearch-plugin install repository-s3
Removing a plugin:
sudo bin/elasticsearch-plugin remove repository-s3
Installing a plugin using the file’s path:
sudo bin/elasticsearch-plugin install file:///path/to/plugin.zip
Notes and good things to know
- Plugins are installed and removed using the elasticsearch-plugin script, which ships as a part of the Elasticsearch installation and can be found inside the bin/ directory of the Elasticsearch installation path.
- A plugin has to be installed on every node of the cluster and each of the nodes has to be restarted to make the plugin visible.
- You can also download the plugin manually and then install it using the elasticsearch-plugin install command, providing the file name/path of the plugin’s source file.
- When a plugin is removed, you will need to restart every Elasticsearch node in order to complete the removal process.
Common issues
- Managing permission issues during and after plugin installation is the most common problem. If Elasticsearch was installed using the DEB or RPM packages then the plugin has to be installed using the root user. Otherwise you can install the plugin as the user that owns all of the Elasticsearch files.
- In the case of DEB or RPM package installation, it is important to check the permissions of the plugins directory after you install it. You can update the permission if it has been modified using the following command:
chown -R elasticsearch:elasticsearch path_to_plugin_directory
- If your Elasticsearch nodes are running in a private subnet without internet access, you cannot install a plugin directly. In this case, you can simply download the plugins and copy the files inside the plugins directory of the Elasticsearch installation path on every node. The node has to be restarted in this case as well.
Log Context
Log “failed to ensure SLM history index exists; not indexing history item [{}]” classname is SnapshotHistoryStore.java.
We extracted the following from Elasticsearch source code for those seeking an in-depth context :
                 }));
            } catch (IOException exception) {
                logger.error(new ParameterizedMessage("failed to index snapshot history item in index [{}]: [{}]";
                    SLM_HISTORY_ALIAS; item); exception);
            }
        }; ex -> logger.error(new ParameterizedMessage("failed to ensure SLM history index exists; not indexing history item [{}]";
            item); ex)));
    }

    /**
     * Checks if the SLM history index exists; and if not; creates it.
Find & fix Elasticsearch problems